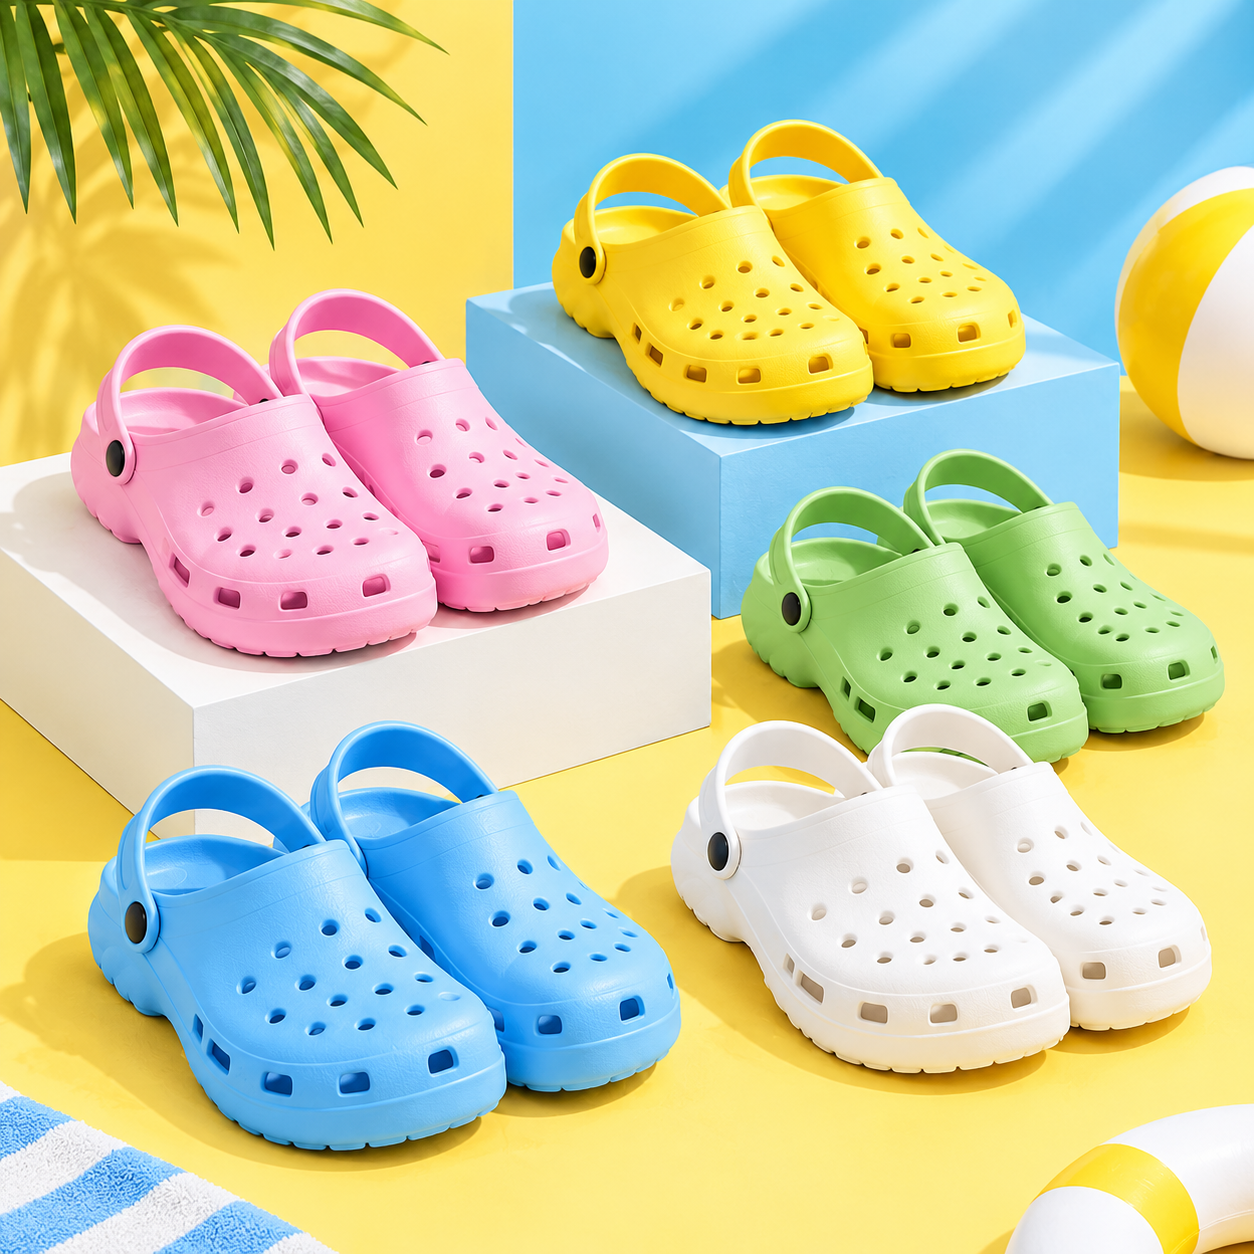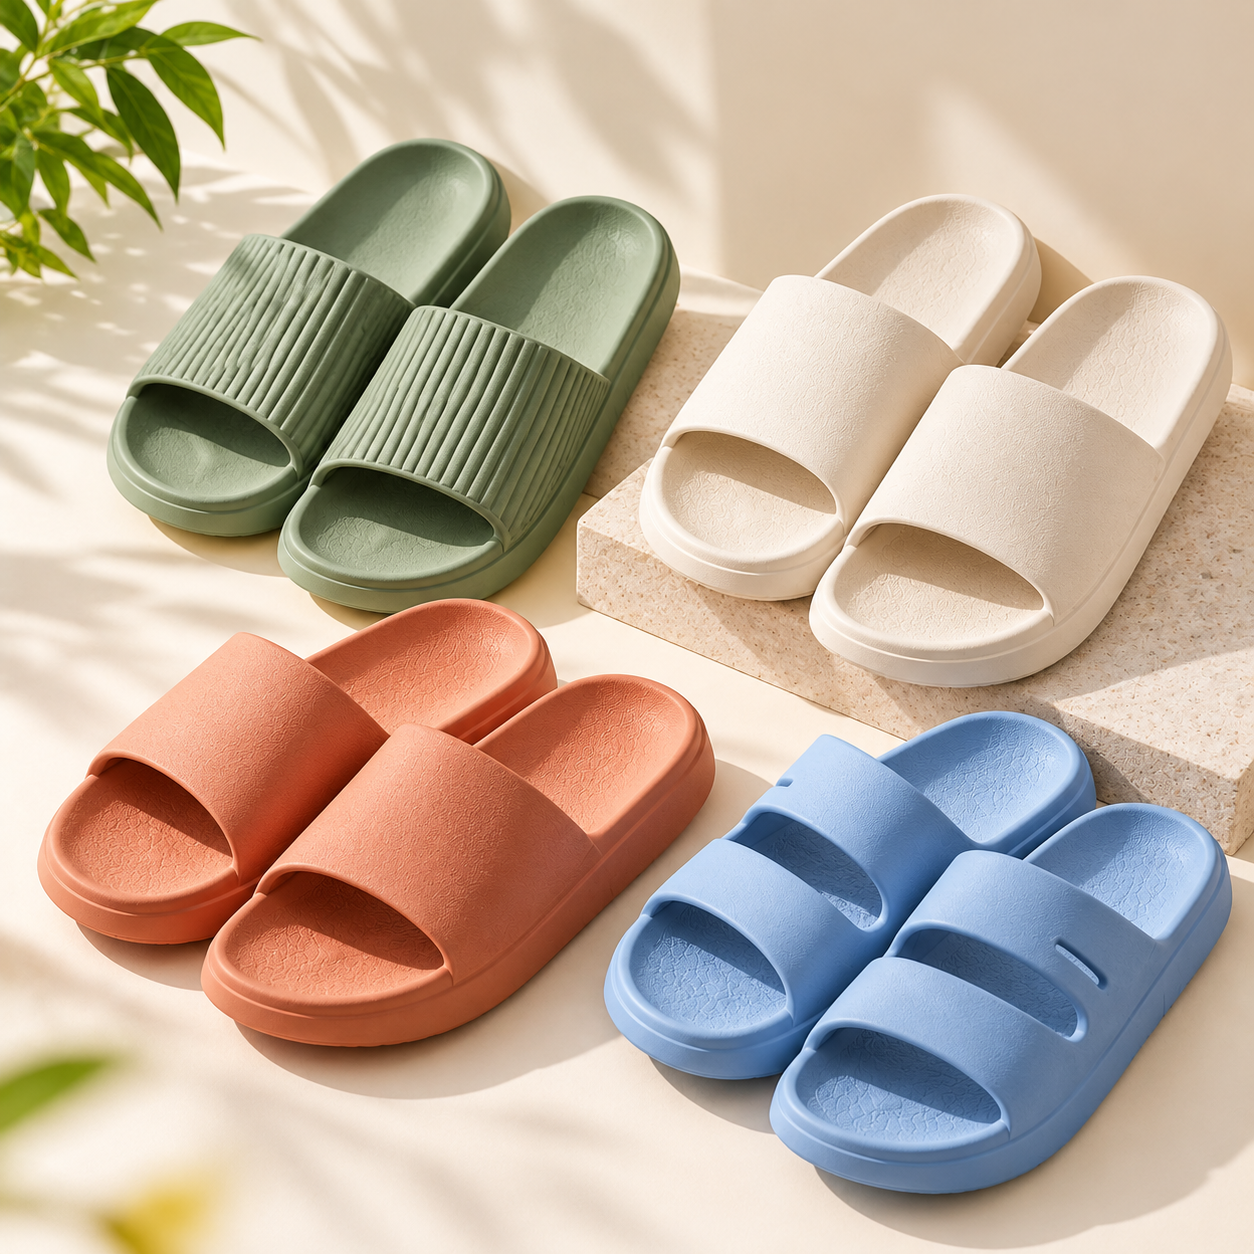
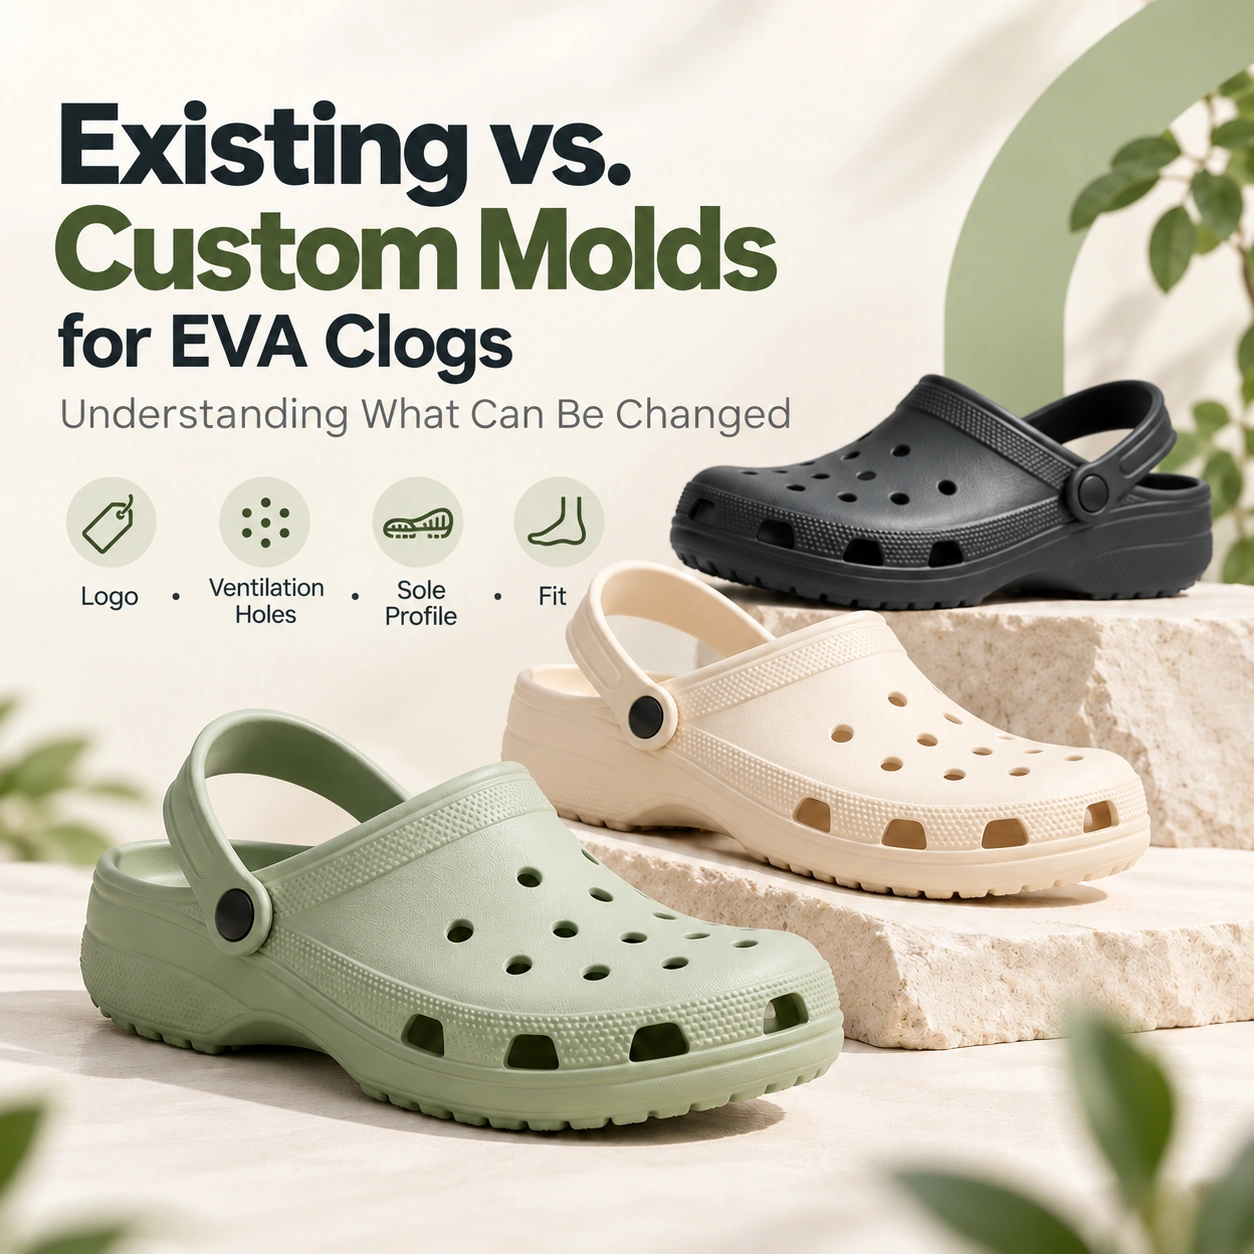
A buyer finds an EVA clog with the right general appearance, then requests a few adjustments: a smaller logo, different ventilation holes, a thicker-looking sole and more room across the forefoot. Although these changes may appear equally straightforward on a product image, they involve different decisions in manufacturing.
Some can be achieved while keeping the existing shoe mold. Others require changes to selected tooling components, while requests that reshape the shoe may lead to new mold development. Understanding these differences helps buyers communicate their requirements and choose a suitable starting point for their collection.
What Is an Open Mold, and How Does It Differ from Custom Tooling?
An open mold generally refers to an existing shoe design that a supplier makes available to multiple customers. Buyers select the established model and customize suitable details, such as colors, branding or compatible accessories.
The shape is already defined, including much of the exterior profile, internal space, footbed and outsole pattern. Available sizes also depend on the tooling the supplier already has.
Custom tooling is developed around an approved design. It allows the project to address requirements that existing models cannot accommodate, such as a particular toe shape, opening, sole profile or fit.
However, “existing” does not necessarily mean “open.” A mold may already exist but be reserved for another customer. Likewise, a newly developed mold should not automatically be assumed to include exclusive use. Buyers should confirm both the physical tooling arrangement and how the design may be supplied.
Start by Checking the Shape You Need to Keep
Before discussing customization, examine a physical sample of the proposed existing model. Look beyond its color and decorations to the features that would remain if all branding were removed.
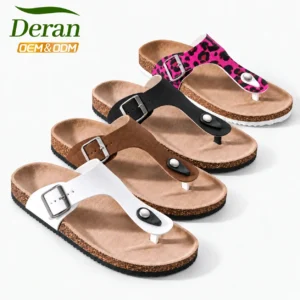
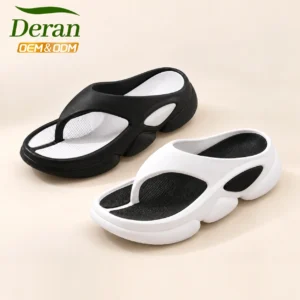
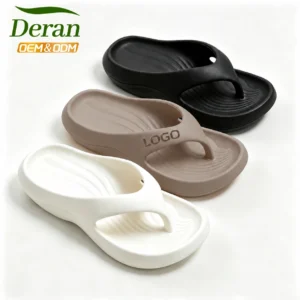
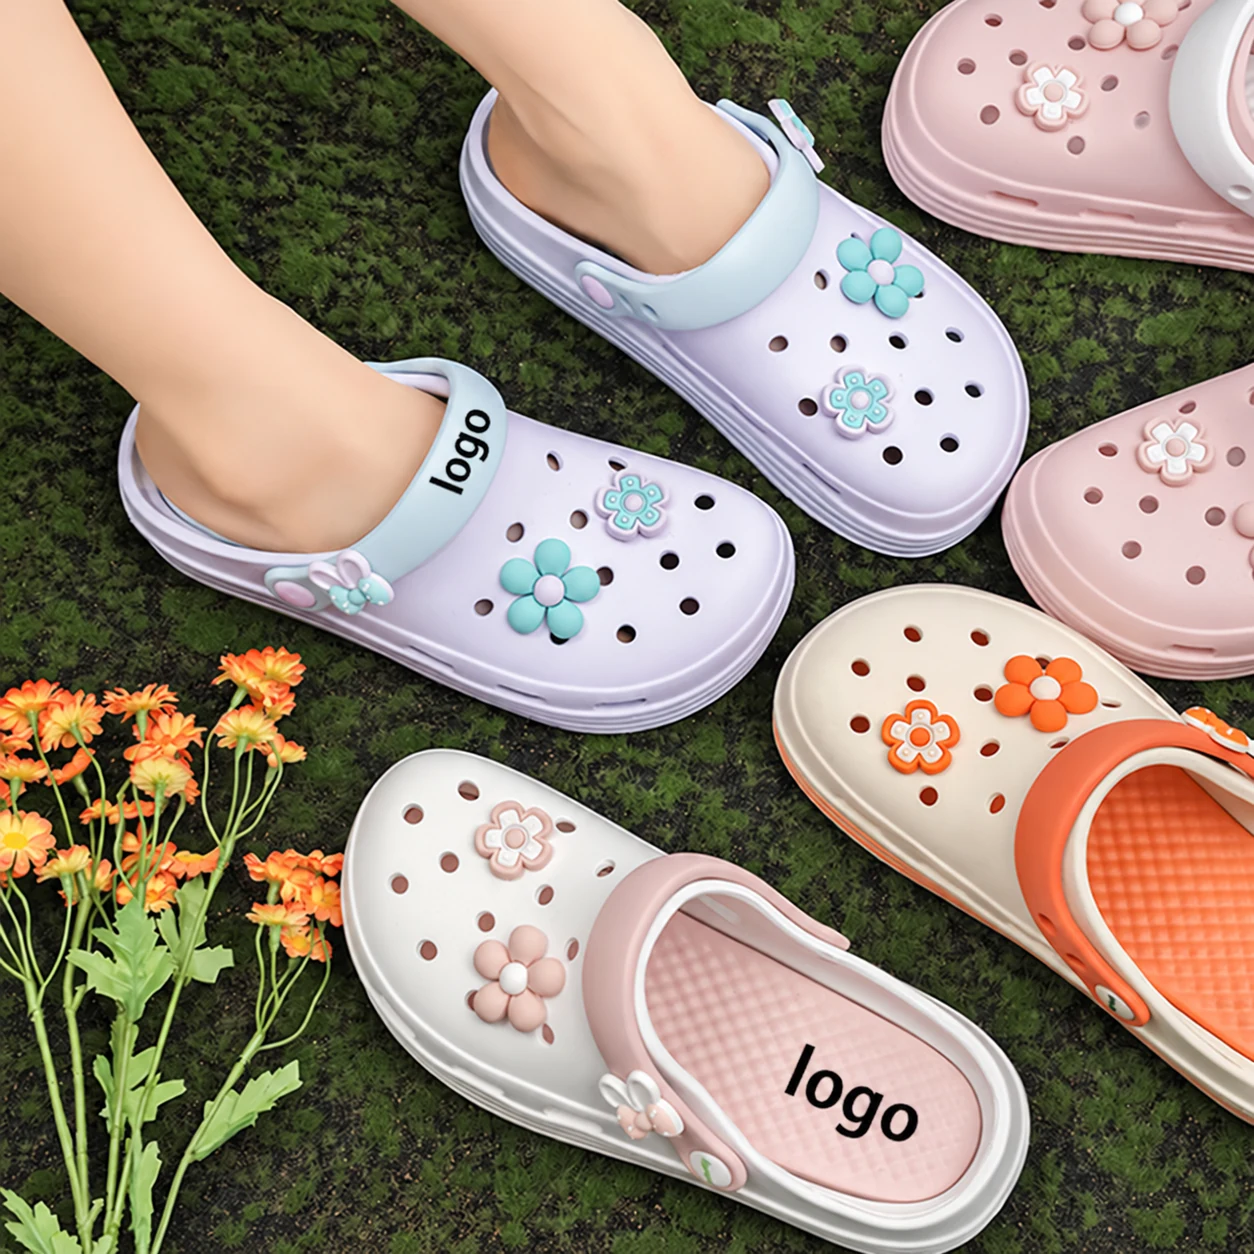
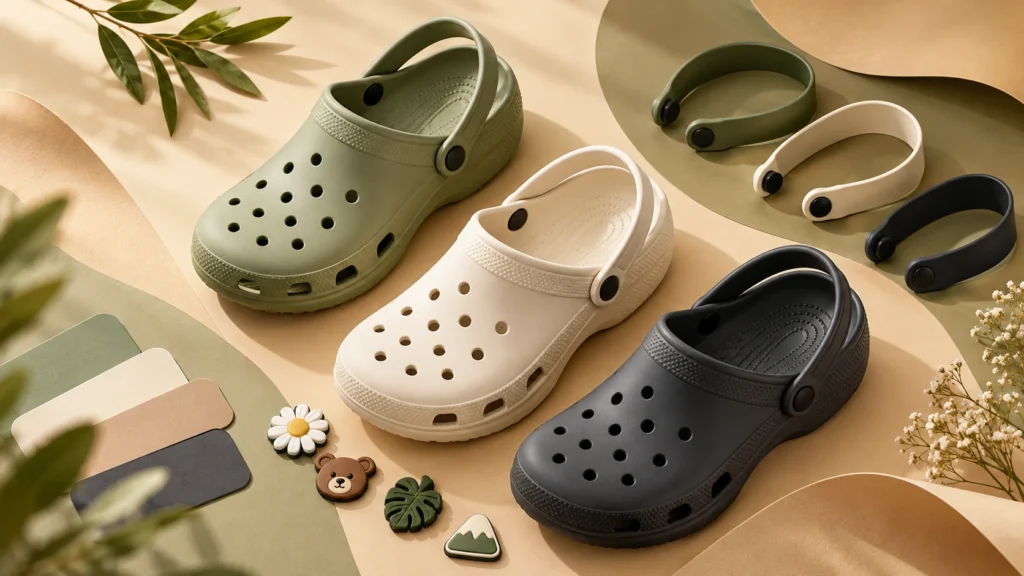
For buyers still comparing designs, browsing a selection of custom EVA clogs can help identify existing styles with suitable toe shapes, sole profiles and strap arrangements. Product images provide a useful starting point, but the actual mold availability and fit should be confirmed with the manufacturer.
Check the toe profile, forefoot space, instep clearance, heel position and footbed shape. Assess how the heel strap sits when worn, rather than judging it only in a folded-forward position.
A useful approach is to divide your feedback into features you accept and features that must change. For example, you might accept the outsole and toe shape but require additional room over the instep.
This distinction gives the factory a clearer task. Instead of receiving a general request to “make the shoe more comfortable,” the technical team can assess a particular area and explain whether the existing model remains a suitable base.
Color and Branding: Where Existing Molds Offer Flexibility
Changing the body color usually allows the basic shoe geometry to remain unchanged. Suitable surface printing and compatible decorative components may also be added without developing a new shoe-body mold.
Nevertheless, these options still need sample approval. For color, provide a physical reference or an agreed color code and review the result on the intended EVA material. For printed branding, confirm its dimensions, position and application method.
A molded logo requires a different discussion because its shape is formed by the tooling. Ask whether the existing mold has a replaceable branding insert, whether the relevant area can be modified, or whether another branding location would be more practical.
The artwork also needs to be evaluated at its actual finished size. Fine lettering that looks clear on a monitor may be difficult to reproduce in a small molded mark. Confirm the thinnest strokes, spacing and raised or recessed effect before approving the tooling work.
If the factory recommends simplifying small lettering, that change should be agreed upon before machining.
Separate the Shoe Body from Its Components
A custom component does not necessarily require a custom shoe body. A branded button or a newly developed heel strap may have its own tooling while the main clog continues to use an existing mold.
Compatibility is the deciding issue. A strap needs to work with the shoe’s attachment points, and a replacement button needs to fit the relevant connection.
When requesting a different strap, explain whether you want to change its color, width, length, curvature or fastening method. These requests have different implications. A color change may retain the existing component, while a new shape needs development and a check against the shoe.
Ask the manufacturer to identify precisely which parts remain standard and which become custom. This also helps you understand what must be sampled together before approval.
Ventilation Holes Are Part of the Design
Changing ventilation holes can substantially alter the appearance of a clog, but the request needs more detail than “use fewer holes.”
Specify which holes should move, change shape or disappear. Mark their proposed positions on a top or side view, and ask the factory to review the tooling arrangement and the material remaining around each opening.
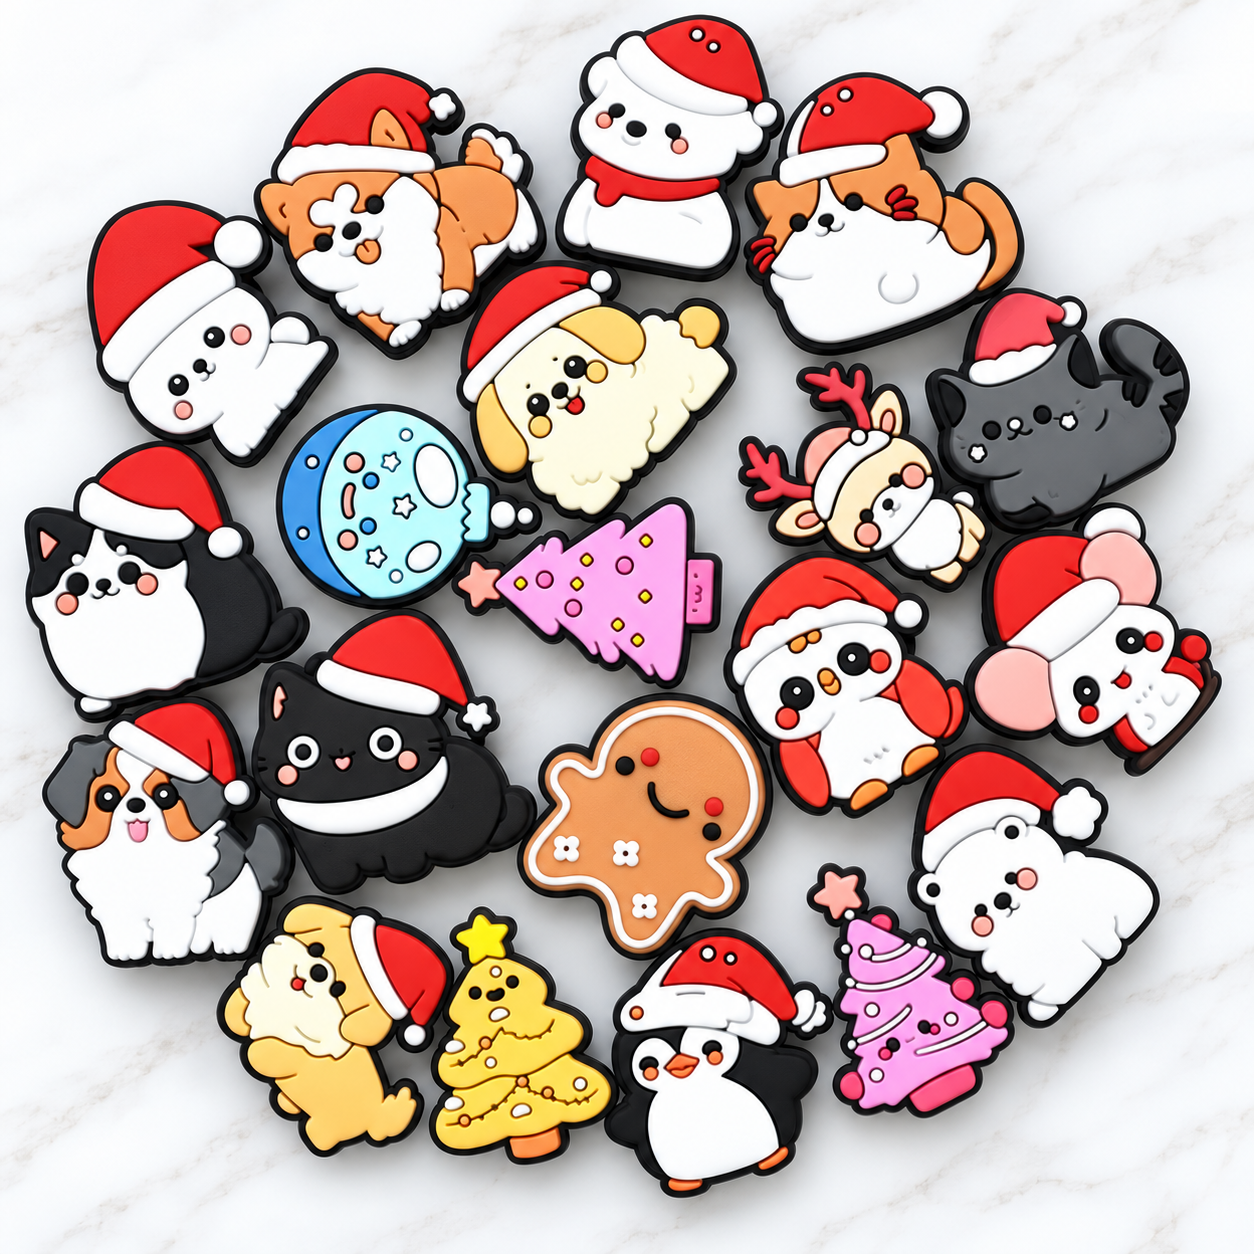
If the holes are intended to hold decorative charms, their dimensions must also suit the attachment. A hole that looks appropriate in a drawing may not provide the required fit for the selected accessory.
The surrounding geometry matters too. Moving an opening closer to an edge or strap connection changes the area that needs evaluation.
Whether the modification can be achieved through a local tooling change depends on the actual mold construction. Buyers should request an assessment of the selected model rather than assume that all hole patterns are interchangeable.
A Thicker-Looking Sole Is Not Always a Thicker Footbed
“Make the sole thicker” can describe several different intentions. A buyer may want a taller side profile, more material beneath the foot, a raised heel or a platform appearance across the whole shoe.
These should be separated before development begins.
For example, if the aim is a more substantial side view while retaining the existing internal fit, explain that the foot’s position should remain unchanged. The factory can then evaluate the intended exterior profile instead of assuming that the entire footbed must be raised.
If additional thickness beneath the foot is required, specify where it should increase and which dimensions should remain fixed.
EVA foam expands during molding and changes dimension as it cools. Changes in thickness can affect the way a part forms, so the result needs to be checked through appropriate trials rather than approved from a side-view drawing alone.
Fit Changes Require More Precise Language
A wider appearance does not necessarily provide more usable space inside the shoe. When requesting a wider fit, identify whether the issue is at the toes, across the forefoot or around the opening.
Similarly, pressure over the instep may require a different adjustment from insufficient shoe length. Simply selecting a larger size may introduce unwanted extra room elsewhere.
Provide a reference sample if possible, with the problem area marked. Agree on the measurements the factory will use to compare the existing and proposed versions.
For size development, confirm which sizes already exist and which require additional tooling. Ask how the proposed fit will be assessed across the range, including sizes away from the initial development size.
Changing a size marking does not change the internal dimensions. Approval should relate to the finished shoe and its agreed measurements, rather than the number molded into the outsole.
What Should Be Approved Before Cutting a New Mold?
New mold development becomes easier to manage when the buyer and manufacturer agree on what each stage is intended to confirm.
Drawings and three-dimensional models can establish the shape, feature positions and proportions. A physical appearance model may help buyers inspect details that are difficult to judge on screen. However, it should not be treated as proof of final EVA softness or finished fit unless it represents the intended material and process.
Before tooling begins, confirm the design version, target dimensions, material direction, branding details and sample size.
After trial molding, compare the finished sample with those requirements. Record what is accepted and what still needs adjustment, using photographs and measurements where appropriate.
A comment such as “the opening presses here” is more useful when accompanied by a marked photograph and a clear comparison with the reference sample. Keep each revision linked to a sample number so that approved details are not lost between rounds.
Choose the Route That Matches the Required Changes
An existing mold is a useful option when the basic shape and fit already meet your needs. Local tooling or component development may be suitable when the changes are limited and technically compatible. New molds become relevant when essential features require a different shoe structure.
Development investment, quantity and timing still matter, but they should be considered after the required changes are understood. Once the tooling approach is clear, buyers can review the wider purchasing budget, including sampling, packaging and delivery. Our guide to custom clog costs for wholesale buyers explores these considerations in more detail.
Ask the factory to separate design approval, tooling, trial samples and production in its proposed schedule.
For the first inquiry, send an annotated reference showing what must change and what should remain. Include the intended size range, fit reference, branding and material requirements.
The most useful response is a clear explanation of which features can use existing tooling, which require further development and what evidence will be provided before approval. That gives buyers a practical basis for building a distinctive EVA clog collection.